Manage your collections
Collections in the Notebook Clipper app let you organize your notebooks as their number grows, so a course, a client or a research project keeps its notebooks together instead of scattered down one long list. A notebook can be in several collections, and deleting a collection removes the grouping only, while the notebooks stay.
Create a collection
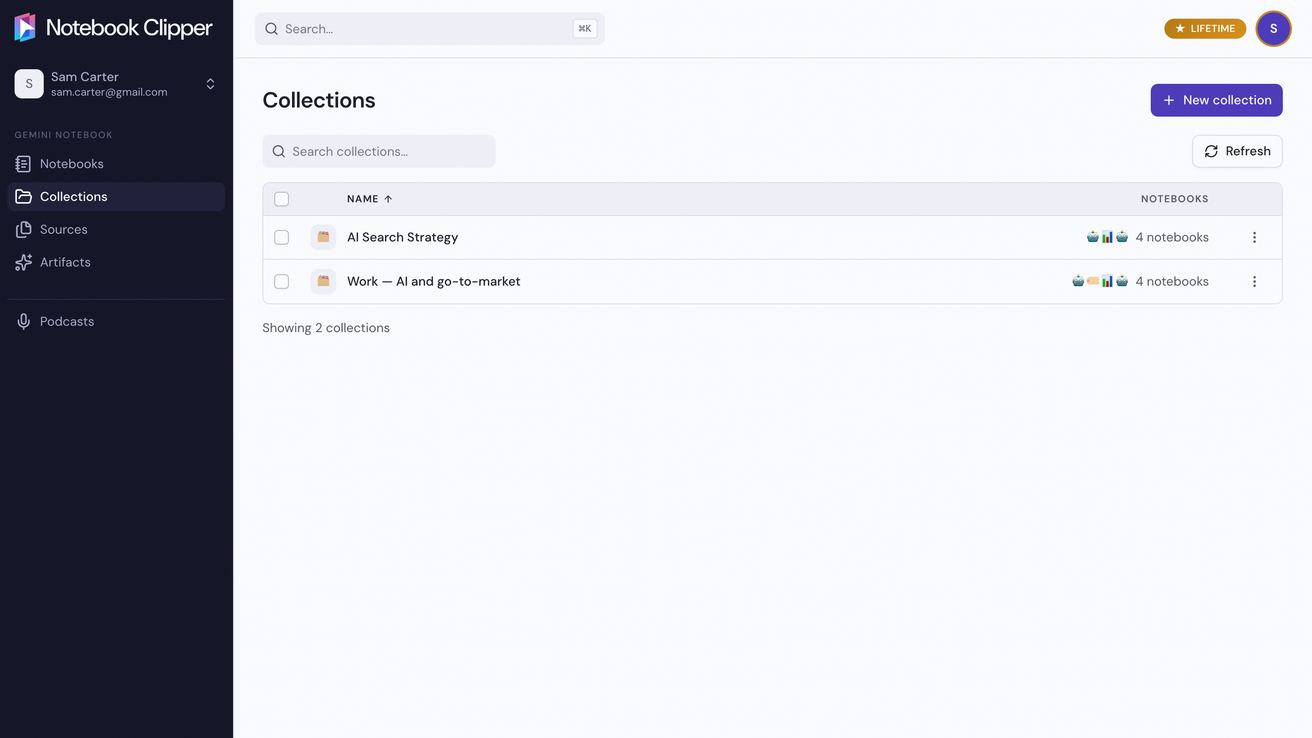
Open the app on Collections
In the Notebook Clipper app, click Collections in the sidebar.
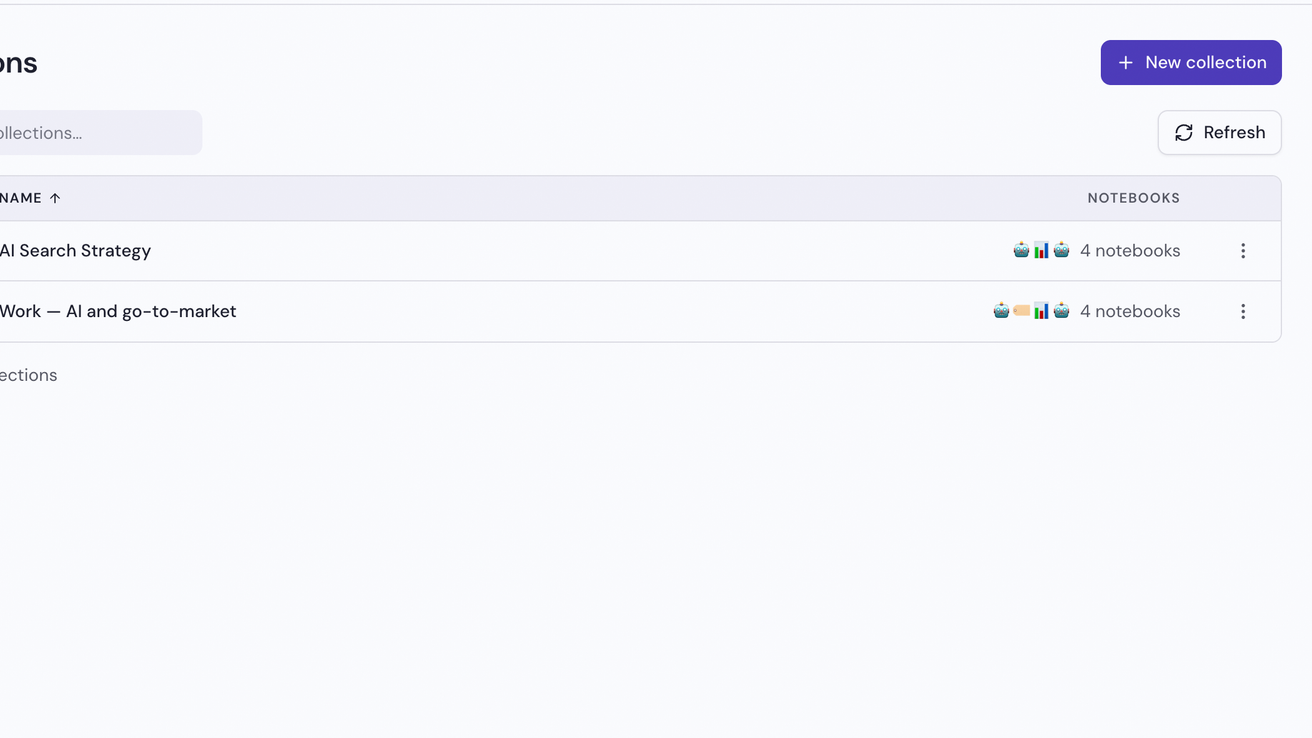
Click New collection
The button is at the top right of the page.
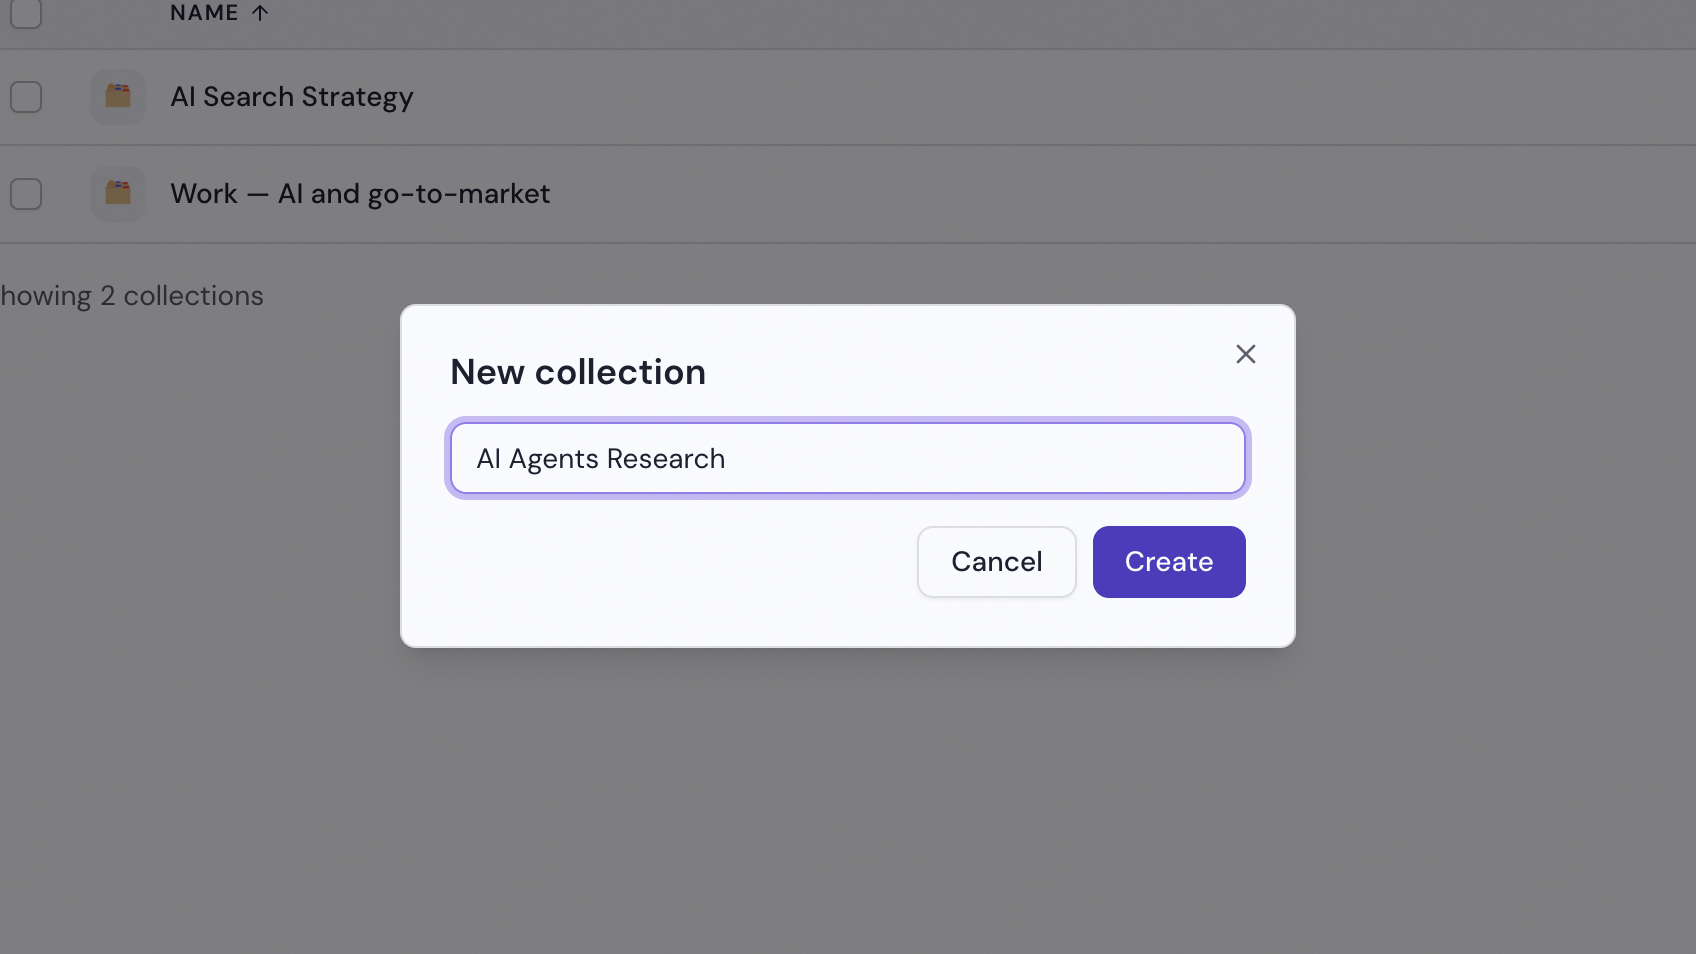
Enter a name, then click Create
Type a name that says what the collection gathers, a research topic, a course or a project, then click Create. The new collection opens empty, ready for its first notebooks.
Add notebooks to a collection
Open the collection, then click Add notebooks
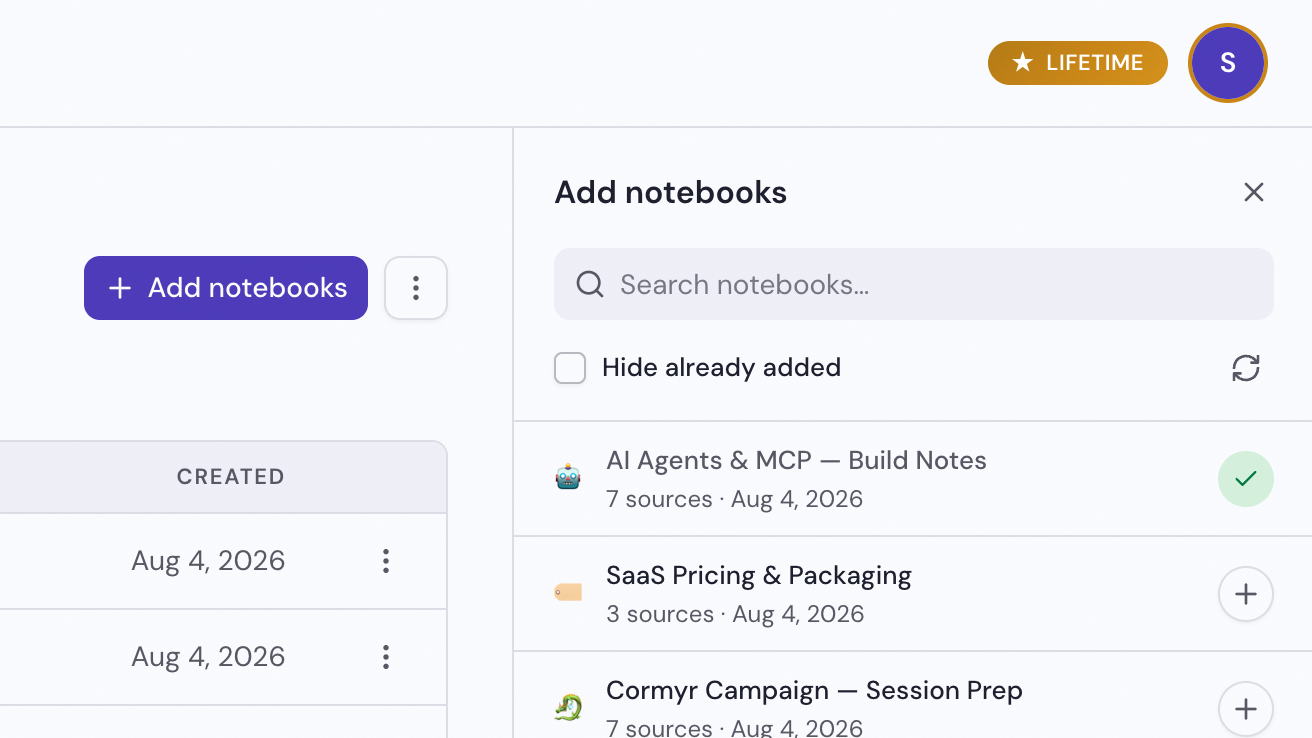
A panel opens at the right listing the notebooks you can add.
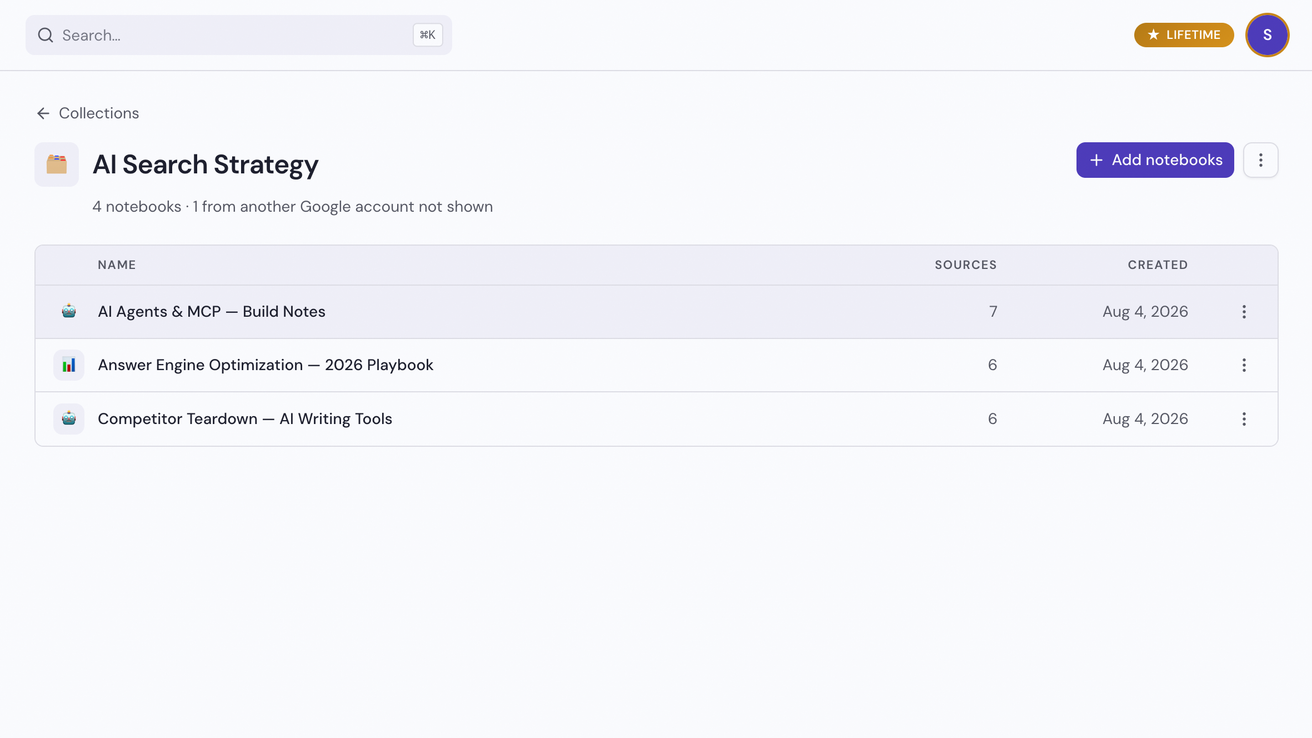
Click Add on each notebook
It is the plus icon at the right end of the row, and the notebook joins the collection at once. Remove from collection, in a notebook’s row on the collection page, takes it out again.
Rename or delete a collection
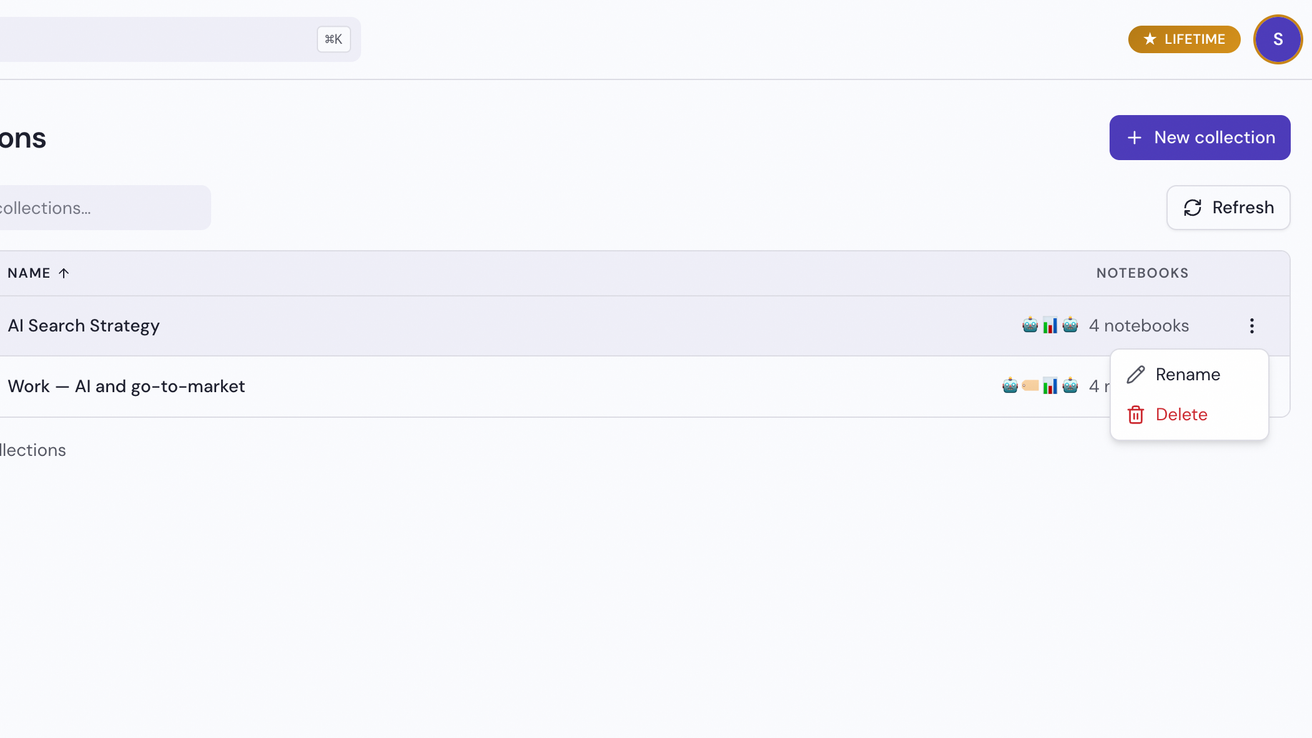
Click More on the collection’s row, then Rename or Delete
More is the three-dot icon at the right end of the row on the Collections page, and the same menu is at the top right of the collection’s own page. Delete asks you to confirm.