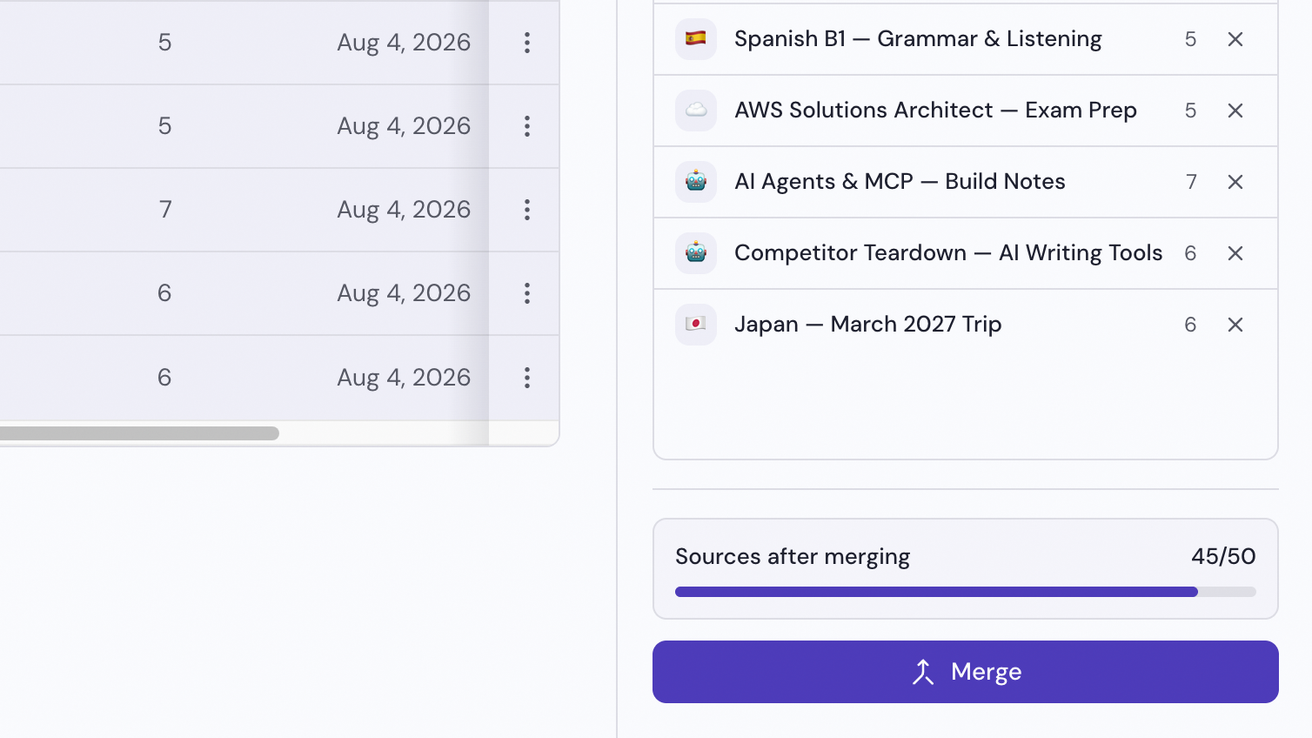
Merge notebooks
Notebook Clipper lets you merge several notebooks in Gemini Notebook (formerly NotebookLM) into one, so all their sources come together in a single notebook, new or existing, while the notebooks you merged stay as they are.
Merge the notebooks
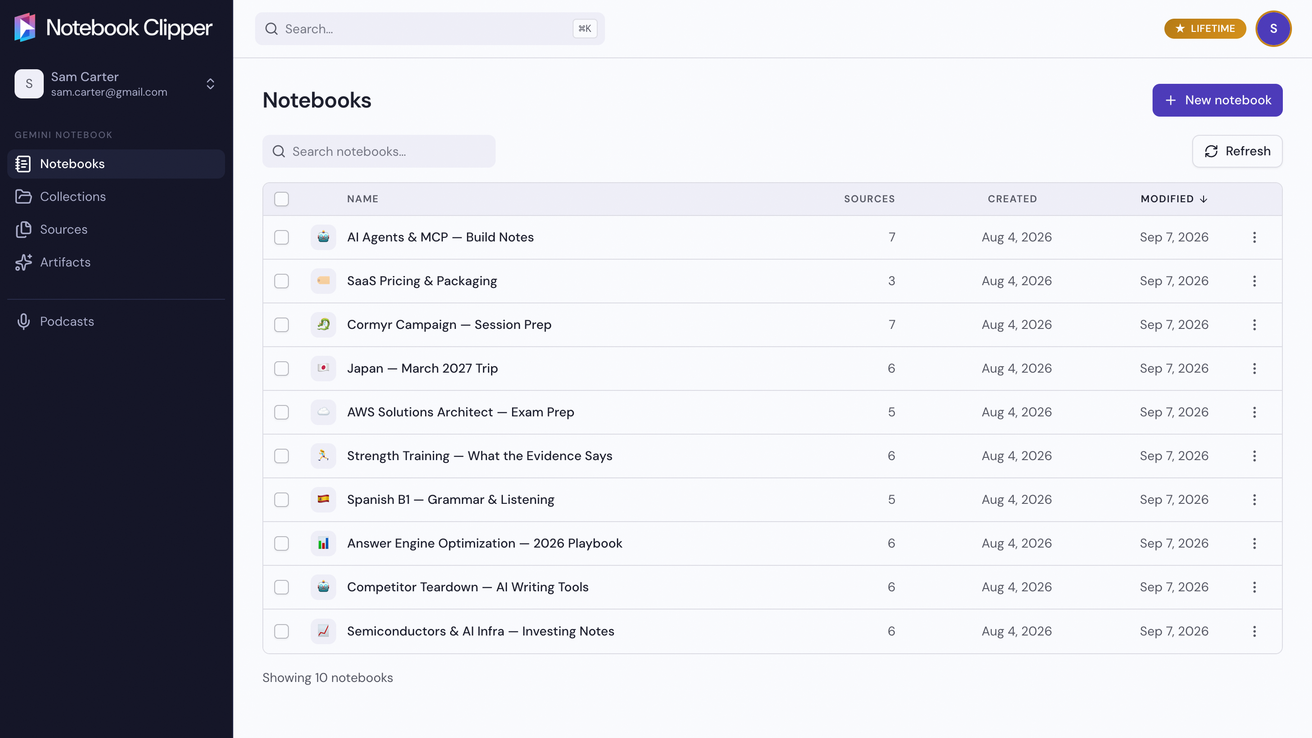
Open the app on Notebooks
In the Notebook Clipper app, click Notebooks in the sidebar.
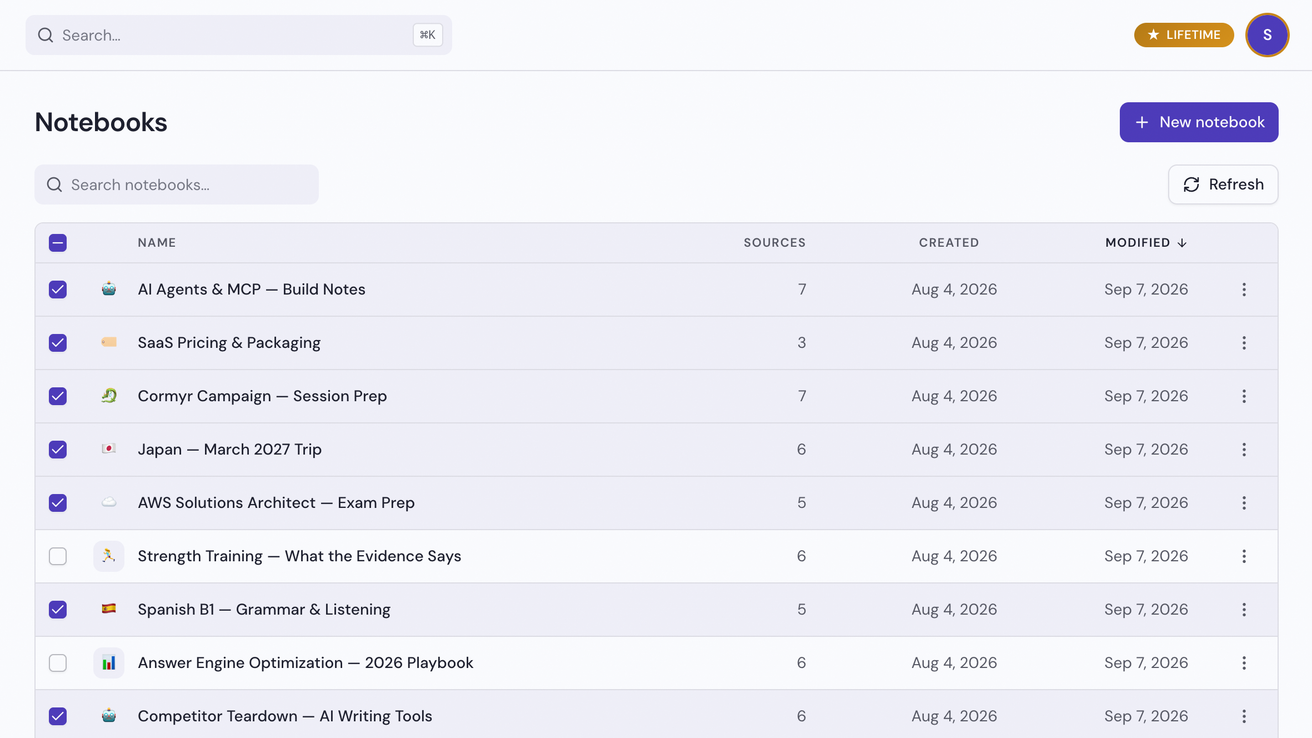
Select several notebooks
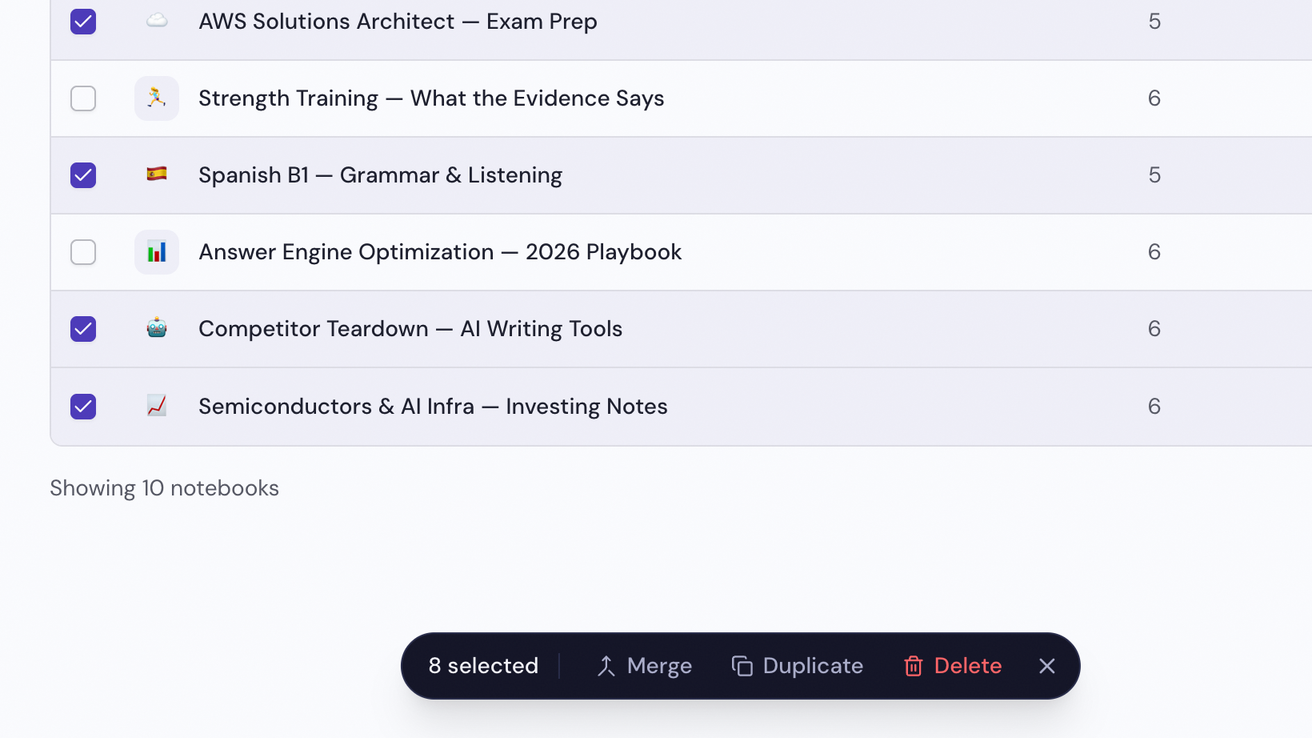
Select several notebooks by clicking the checkbox at the left of each row. The floating bar appears at the bottom of the screen, with Merge in it.
Click Merge in the floating bar
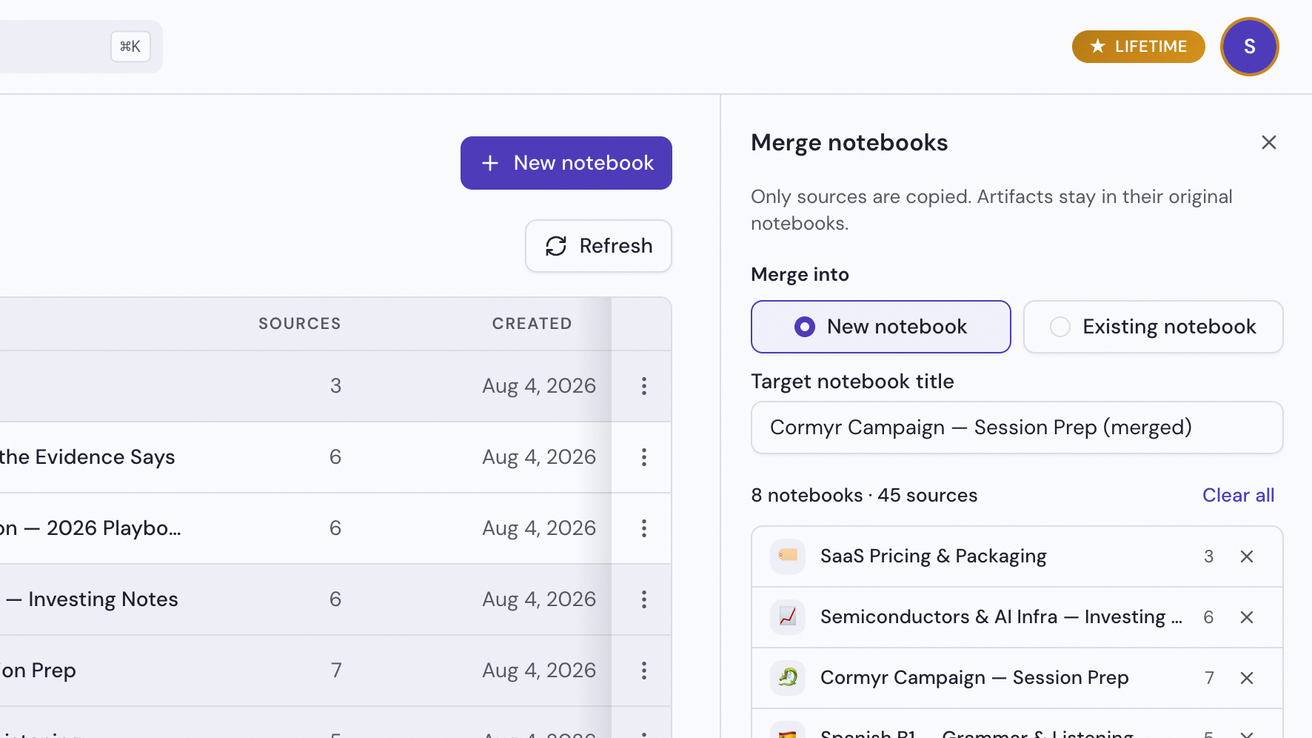
The Merge notebooks panel opens at the right with the selected notebooks listed.
Choose where the sources go
Select New notebook to merge them into a new notebook, or Existing notebook to merge them into one of your notebooks.
Click Merge
The panel shows the progress, then Merge complete with a button to open the notebook. Keep the tab open until it finishes.